Looking to try GitHub Copilot CLI?
Read the Docs and get started today.
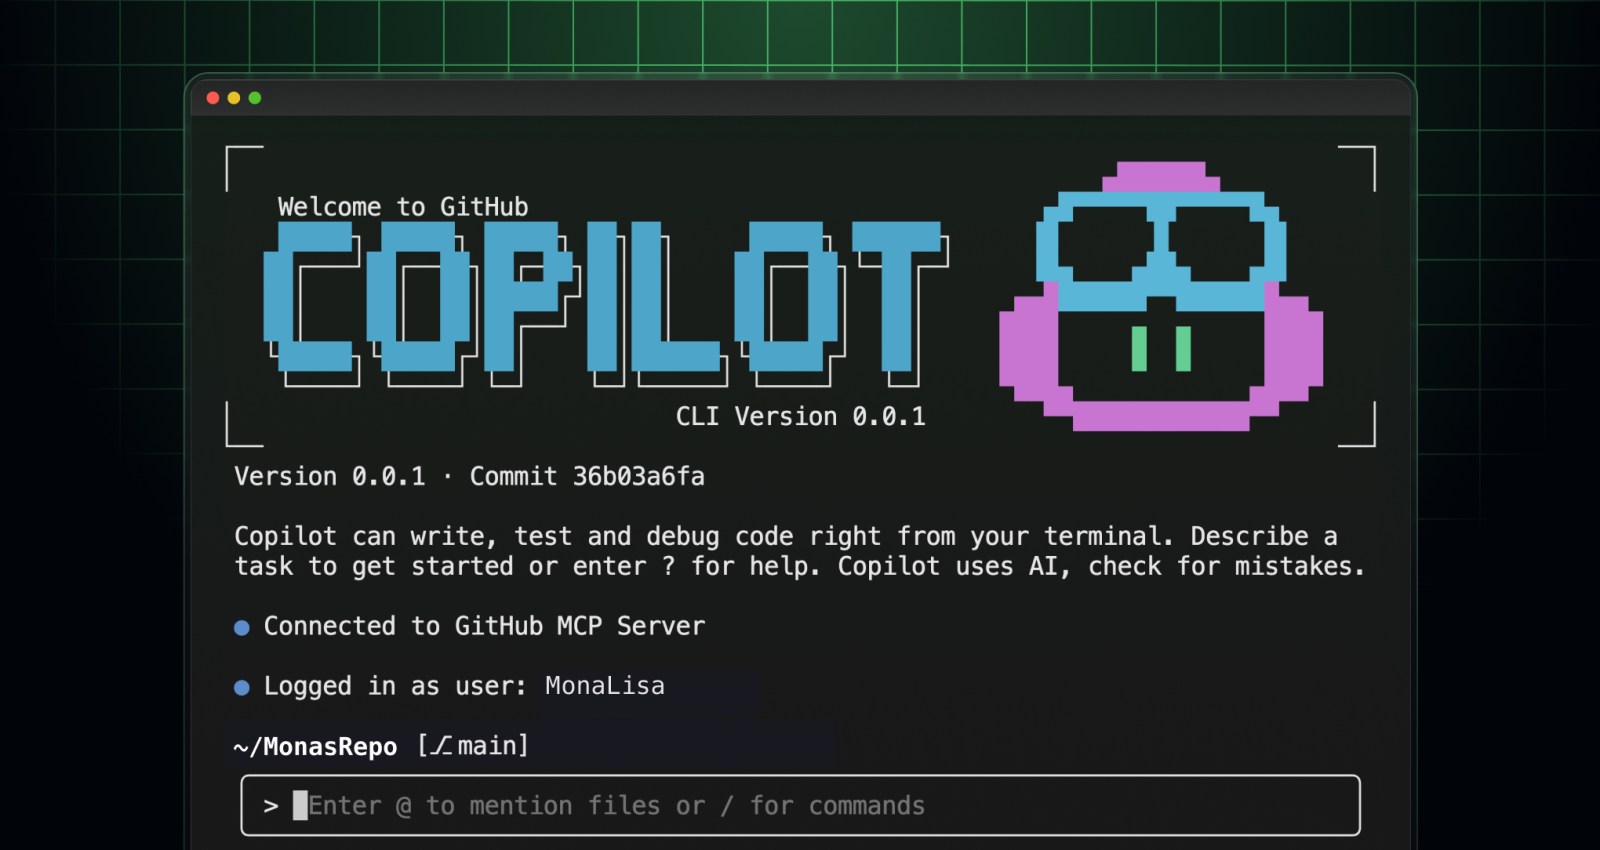
You don’t have to leave your terminal to use GitHub Copilot anymore.
With GitHub Copilot CLI, you can ask questions, generate scripts, refactor code, and run commands—all without breaking your flow.
In this blog, we’ll explore exactly what GitHub Copilot CLI is, how it works, the best ways to use it, and how you can start working with Copilot right from your terminal.
What is GitHub Copilot CLI?
A command-line interface (CLI) is where you can type commands directly into a terminal or console to interact with software and systems. It’s how you often run scripts, automate workflows, and access APIs.
The GitHub Copilot CLI brings Copilot’s AI capabilities right into that environment. Instead of jumping between your IDE and browser, you can ask Copilot to generate, explain, or execute commands. In short, Copilot CLI gives you more precision and control over how you work.
For instance, you can ask:
copilot "create a bash script to check for uncommitted changes and push if clean"The Copilot CLI will write the script, explain what it does, and ask you to confirm before running it.
Whether you’re debugging code, managing environments, navigating a legacy codebase, or handling complex implementations, Copilot CLI helps you work faster without leaving your local environment—saving you time and effort.
How does GitHub Copilot CLI work?
CLIs follow a simple loop: you type a command, the system runs it, and you get a result.
GitHub Copilot CLI builds on that workflow but adds an AI-powered twist. Instead of just running predefined commands, you can talk to your terminal in natural language. You tell Copilot CLI what to do, and it figures out the commands to make it happen. (Copilot CLI also supports a number of slash commands and integrations with MCP to extend its capabilities.)
You can use Copilot CLI in two ways:
No matter how you use it, Copilot CLI will always ask for confirmation before reading, modifying, or executing files. That means you stay in control of your environment. (Note: One exception is if you choose “Yes, and remember this folder for future sessions” or “Yes, and approve TOOL for the rest of the session” when prompted—Copilot will follow these instructions instead. More details in our starter kit below!)
Starter kit: How to install and use GitHub Copilot CLI
Using GitHub Copilot CLI is easier than you think. We created a starter kit for you that explains how to install GitHub Copilot CLI, a step-by-step tutorial on how to use the tool, and common use cases and prompts you can use with Copilot in your terminal. Let’s dive in.
Step one: Installing GitHub Copilot CLI
To get started with GitHub Copilot CLI, you need:
[Note: If you get Copilot access from an organization, the Copilot CLI policy must be enabled in your organization’s settings.]
Install Copilot CLI with the following command:
npm install -g @github/copilotThat’s it. Now you’re ready to get started. ✨
Step two: How to use GitHub Copilot CLI
It’s time to start using Copilot in the command line (we have step-by-step instructions on how to do this in our docs).
Important: During your GitHub Copilot CLI session, Copilot may read, modify, and execute files in and below this folder. Only proceed if you trust the files in this location. Read About GitHub Copilot CLI to learn more about trusted directories.
Enter your prompt in the CLI (we’ll explore some examples of great prompts in the next section!)
Sometimes you’ll need to approve Copilot’s use of tools that modify or execute files. You’ll have three options:
Step three: GitHub Copilot CLI use cases, plus example prompts and workflows
In this section, we’re providing tons of use cases along with sample prompts that you can feed Copilot to achieve similar outcomes.
GitHub Learn: GitHub Copilot CLI
In this video tutorial, @arilivigni, senior learning advocate and cloud solutions architect at GitHub, demonstrates some foundational ways to use GitHub Copilot CLI to create GitHub issues, pull requests, and more.
Here are some of the GitHub Copilot CLI prompts that were highlighted in the video:
Create a GitHub Issue: Log actionable tasks that keep progress visible.
Create an issue for adding GitHub Copilot instructionsCreate Copilot custom instructions: Give Copilot more context on your project so it can deliver even better AI assistance that fits your workflows.
Create a branch for GitHub Copilot custom instructionsCreate a pull request: Propose changes that enhance code quality.
Create a pull request with the changes we have madeAttach this pull request to issue #4Show the content of issue #4What pull requests are attached to this issue?Use the MCP server to list all open issues and pull requestsUse MCP servers to query Microsoft Learn: Access official Microsoft Learn content directly from the CLI for quick answers and guidance.
Using the Microsoft Learn MCP server, tell me all the GitHub Copilot Microsoft Learn modules that existWhat are the names of the hands-on Skills exercises that exist in each module? Create a README with all the Microsoft Learn GitHub Copilot modules and the hands-on skills with headings and subheadingsCreate an alias to use with the CLI: Reduce repetitive effort with shortcuts that boost speed and efficiency.
alias grep copilotcpcli='copilot --allow-all-tools -p "$@"'Explain and fix scripts: Diagnose script errors and apply fixes to keep your code running smoothly.
cpcli "Explain each of these scripts and offer improvements" Other ways to use GitHub Copilot CLI
Here are some common use cases for GitHub Copilot CLI, along with specific prompts you can feed Copilot.
Codebase maintenance: Handle security patches, upgrade dependencies, and perform focused refactoring to keep your codebase healthy.
Generate a bash script to run npm audit and apply fixes automaticallyUpgrade all npm dependencies to their latest safe versionsGenerating documentation: Create or update project documentation that improves clarity and visibility.
Review the project README to make it easier for newcomers to understandUnderstanding your system: Ask questions about system resources, like how your laptop storage is being used, which folders take up the most space, or what processes are running.
What is taking up the most space on my own laptop?Improving test coverage: Add new test suites and enhance existing ones to strengthen quality assurance.
Generate a command to scaffold new Jest test suites for uncovered componentsCreate a bash script to run npm test with coverage and output a summary reportSuggest steps to add integration tests for API endpoints using SupertestPrototyping new projects: Kick off greenfield projects and experiment with fresh ideas.
Use create-next-app with Tailwind CSS to build a Next.js dashboard. The dashboard should pull data from the GitHub API and display metrics like build success rate, average build time, failed builds count, and automated test pass rate. After setup, provide clear steps to build, run, and view the app locally in a browser.Setting up your environment: Run terminal commands to configure your local environment for existing projects.
Provide commands to set up a Python virtual environment and install requirements.txtGenerate a bash script to clone a GitHub repo, install dependencies, and start the dev serverSuggest commands to build and run a Docker container for this projectFinding the right command to perform a task: Get Copilot’s suggestions for commands relevant to your current task.
What is the Git command to undo the last commit but keep the changes staged? Provide the Git command to squash the last three commits into oneExplaining an unfamiliar command: Receive natural language explanations of what a command does and why it’s useful.
Explain docker run -it --rm ubuntu bashExplain git rebase --interactive HEAD~3What’s next
Copilot CLI is in public preview, and your feedback will help shape our roadmap—so we want to hear what you think about using the product. You can share your experience using /feedback.
Take this with you
GitHub Copilot CLI brings the power of agentic AI right to where you work: your terminal. Whether you’re launching a new project or tackling a backlog of fixes, putting Copilot at the command line lets you build momentum with less friction and more flow. Happy coding!
Looking to try GitHub Copilot CLI?
Read the Docs and get started today.
/fleet lets Copilot CLI dispatch multiple agents in parallel. Learn how to write prompts that split work across files, declare dependencies, and avoid common pitfalls.
I used coding agents to build agents that automated part of my job. Here’s what I learned about working better with coding agents.
Learn how to integrate the Copilot SDK into a React Native app to generate AI-powered issue summaries, with production patterns for graceful degradation and caching.
