Secure at every step: How GitHub’s dependency graph is generated
GitHub’s dependency graph identifies all upstream dependencies and public downstream dependents of a repository or package by parsing manifest files, so that you can better manage the security and compliance of your dependencies.

Shipping more secure code begins with putting developers front and center—and fixing security issues from the start. In this series, we’re exploring big (and small) ways to build security into every step of your workflow. For our second post, GitHub Supply Chain Security Product Manager Maya Kaczorowski goes behind the scenes of what powers the GitHub dependency graph.
With the accelerated use of open source, your project likely depends on hundreds of dependencies—203 package dependencies per repository on average, to be exact. How can you actually tell what dependencies your application has? Copy-pasting examples from documentation or Stack Overflow is just the gateway to pulling in a dependency—no one wants to rewrite a function if it already exists (especially in Java). But just because you didn’t write the code doesn’t mean that dependencies don’t require work from you. After all, open source is free, like a puppy is free.
Let’s dive in to better understand what dependencies are, how to use the GitHub dependency graph to see their impact on your code, and what you should be doing to maintain them.
Understanding dependencies
A dependency is another binary that your software needs in order to run. This can include both binaries required when building the application (often called dev dependencies), as well as binaries that are actually used at runtime as part of your application. You also have dependencies on other parts of the stack—for example, your application runs on an operating system—but we’ll leave that out for simplicity.
A dependency enters your environment when a developer specifies it as part of your application. This is typically done as part of a manifest file, where dependencies are declared, or a lockfile, where particular versions of dependencies are specified. Dependencies can also be included transitively—meaning that even if you don’t specify a particular dependency, but a dependency of yours specifies it, then you’re dependent on it.

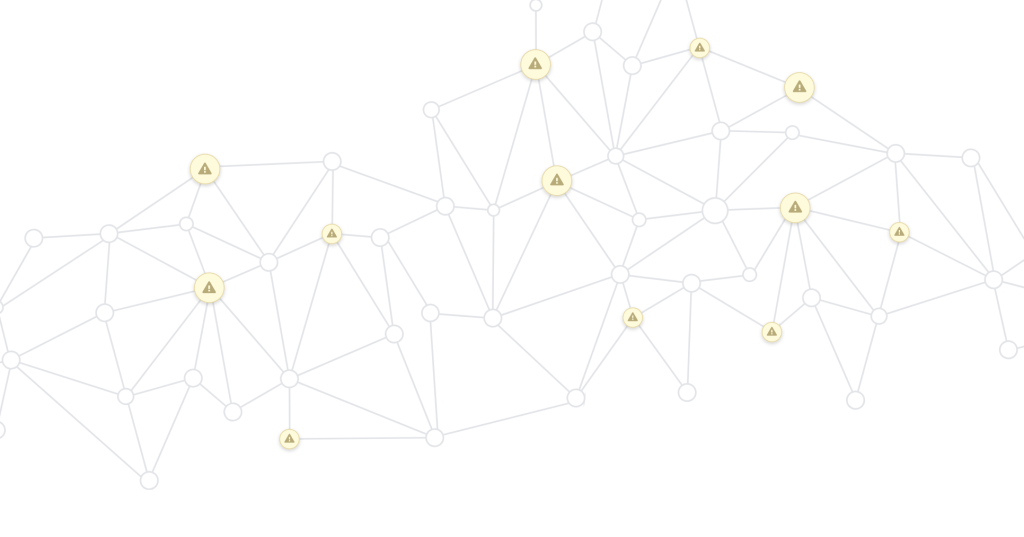
You can see how your dependencies can quickly expand via a network effect, and why it might be hard to keep straight what your application depends on. To make this easier to understand, a common way of presenting and reviewing your dependencies is as an acyclic graph: a series of dependencies with connections showing the direction of one binary’s dependence on another. Similar to a family tree, your application has dependencies it directly pulls in (like parents in a family tree), and those have their own dependencies (like grandparents). But the comparison stops there—multiple items may all be linked to one binary, you’re not limited in how many dependencies you have, and you can probably go a lot further back than “grandparents.” Dependencies are far from being a nuclear family.
There are two main reasons you might want to have a better understanding of your dependencies: security and compliance. From a security standpoint, you want to find vulnerabilities in your code—and that includes what application security vulnerabilities your dependencies might contain. From a compliance standpoint, you want to know what licenses your dependencies use, including any restrictions on the use of that dependency.
How GitHub’s dependency graph discovers your dependencies
On GitHub, the dependency graph identifies all upstream dependencies and public downstream dependents of a repository or package. You can see your project’s dependencies and some of their properties, like vulnerability information.

To generate the dependency graph, GitHub looks at a repository’s explicit declared dependencies specified in the manifest and lockfiles. This is a standard format for each ecosystem, like package.json for npm. When enabled, the dependency graph automatically parses all known package manifest files in the repository and uses this to construct a graph with known dependency names and versions. Since GitHub does this for millions of repositories, and a lot of these packages host code on GitHub, we can infer which repositories produce which packages. Items are added to the dependency graph when you add a new dependency—that is, when you push a change to the default branch for a repository that changes the manifest file.
The dependency graph not only includes information on your direct dependencies, but also includes your transitive dependencies. For those specified, including versions, as part of a lockfile, that information is used; if not, dependencies are inferred (but not their versions) from your dependency’s dependencies.
By using this methodology of parsing manifest files, GitHub’s dependency graph is constructed a bit differently from others. Other methodologies include examining completed artifacts once they’re checked into a registry, or detecting dependencies as they’re pulled in as part of a build process. There is no perfect solution, and these methods will all lead to inexact detection of dependencies; ideally, you can review your dependencies at multiple stages of your pipeline and identify any unexpected inclusions. By detecting dependencies in code, earlier in the development process, the dependency graph on GitHub is agnostic to the build pipeline you use, and allows you to detect your dependencies without needing additional configuration.
The dependency graph is enabled by default for public repositories, and can be enabled for private repositories by granting read-only access. For public packages, you can also see public downstream dependents of your package. But if you enable the dependency graph for a private repository, the owner of any of your dependencies does not see that you’re using their package. Visibility is only one-way.
Maintaining your dependencies
There are a few steps you should take to keep your dependencies healthy. First is understanding what your dependencies are and explicitly specifying them as part of your application. By specifying your dependencies in a manifest file rather than vendoring them into a repository, you know you’re referring to a specific third-party dependency. This makes it easier to adapt newer functionality because you can upgrade the dependency instead of recopying it. It also puts less maintenance burden on your development team.
If your ecosystem supports it and you need to follow specific processes for validating your dependencies (or just want some extra credit), you’ll also want to specify a lockfile. This ensures that you’re not pulling in new versions without explicitly choosing to do so—even for transitive dependencies—and that you’re using consistent versions across your development and build environments. Compared to manifest files that can allow a range of possible versions, lockfiles require specific versions for both your direct and transitive dependencies.
For both manifest and lockfiles, you’ll want to ensure you regularly review and update them to pull in the latest versions of your dependencies. This is particularly important when a dependency includes a newly discovered vulnerability. On GitHub, use Dependabot’s security vulnerability alerts to be notified of a new vulnerability, and Dependabot security updates to address it. Even when there aren’t vulnerabilities, check for new releases regularly with Dependabot version updates so that upgrading is easier when it’s critical.
Lastly—and this is actually the hardest part—remove unnecessary dependencies. A smaller set of dependencies is a smaller risk surface for security and compliance. You don’t have to patch or maintain something that you don’t have in your application.
Now that you have a better handle on dependencies and what you should be doing to maintain them, get started with the dependency graph for a repository-level view of the dependencies your application uses.
Looking for more easy ways to keep your code secure? Stay tuned for upcoming posts in this series or check out our security ebook.
Tags:
Written by
Related posts

Level up design-to-code collaboration with GitHub’s open source Annotation Toolkit
Prevent accessibility issues before they reach production. The Annotation Toolkit brings clarity, compliance, and collaboration directly into your Figma workflow.

How to use the GitHub and JFrog integration for secure, traceable builds from commit to production
Connect commits to artifacts without switching tools.

How to streamline GitHub API calls in Azure Pipelines
Build a custom Azure DevOps extension that eliminates the complexity of JWT generation and token management, enabling powerful automation and enhanced security controls.