Managing large numbers of GitHub notifications
When you first started using GitHub, you read every notification that trickled in with interest and stayed up-to-date on projects with ease. It gets more difficult when you start to…
When you first started using GitHub, you read every notification that trickled in with interest and stayed up-to-date on projects with ease.
It gets more difficult when you start to watch an active open source project or work at a company that uses GitHub heavily. Now you find yourself with hundreds or thousands of GitHub notifications every day and struggle to keep up.
Here are a few good practices that can help you manage your notifications so you can focus what’s important.
Reduce the amount of notifications you receive
The first step to getting your notifications under control is reducing the number of notifications you receive that you don’t care about.
Unwatch repositories
In the past, you watched a repository because you found its activity useful at the time. If you’re now ignoring most of its notifications, consider unwatching it. Look through the repositories you’re watching on your watched repositories page, and unwatch any of them with a single click.

Leave teams
If you joined teams in a GitHub organization—like an open source project or company—but don’t get relevant information from those teams, try leaving them. See all the teams you’re a member of in the “Teams” tab on your organization’s GitHub page by selecting “My teams” from the “Members” drop-down menu. As an example, the URL for teams in the GitHub organization is https://github.com/orgs/github/teams?query=members%3Ame; replace github with your organization’s name to jump straight to your page.

Lock conversations
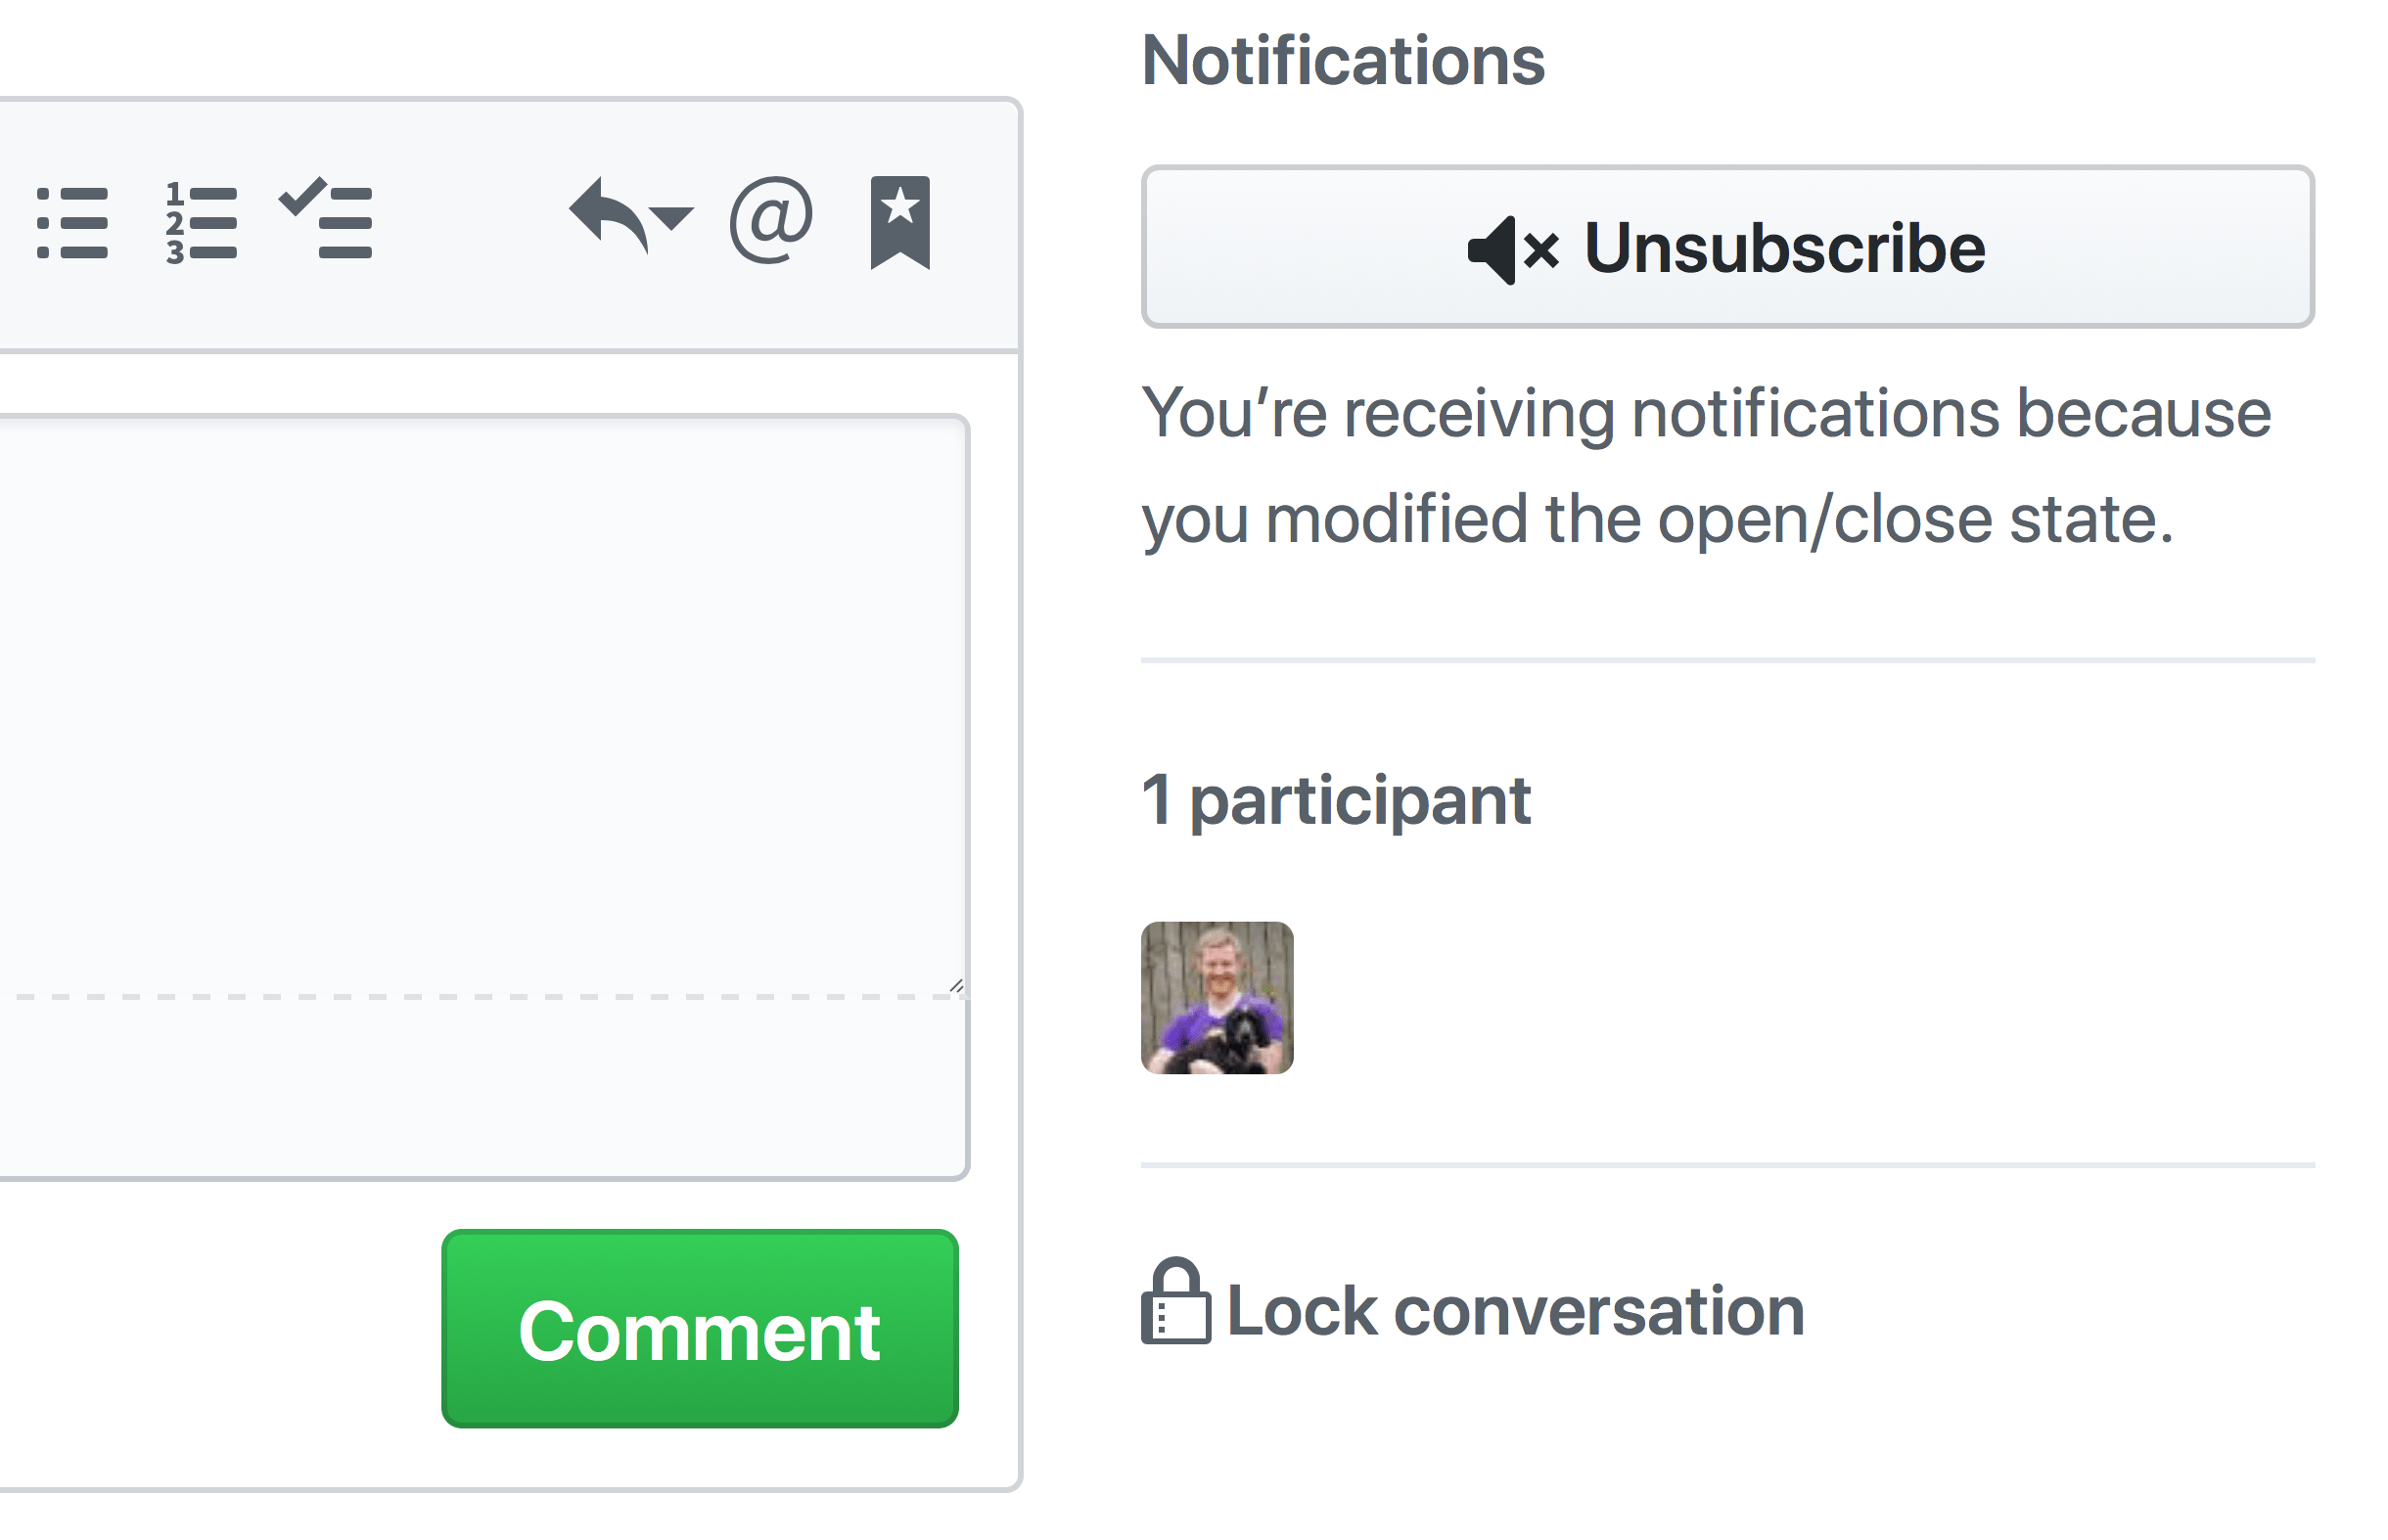
If the discussion continues on an open source project’s issue, pull request, or commit long after it’s relevant, you can lock the conversation to avoid anyone receiving future notifications on that issue. To avoid any future notifications for you alone, unsubscribe from the issue or pull request instead.
Prioritize the notifications you receive
Now that you’re subscribed to relevant notifications, it’s time to check your email. If unsubscribing was enough to clean up your emails, you can stop here. If you still receive find it hard to figure out which notifications to read first, we have more tools to help you.
Notification emails on GitHub provide the notification reason through email headers and a CC email address. This allows you to differentiate between notifications where:
- There was activity on an issue or pull request you created
- Someone mentioned your username
- Someone mentioned a team you’re a member of
- Someone mentioned a milestone you’re subscribed to
- You received an issue or pull request assignment
- An issue or pull request you’re subscribed to was either closed or opened
- Someone committed to a pull request you’re subscribed to
- You commented on an issue or pull request
- You opened, commented on, or closed an issue or pull request
Read more about email headers in the notification email documentation.
Automatically triage your inbox
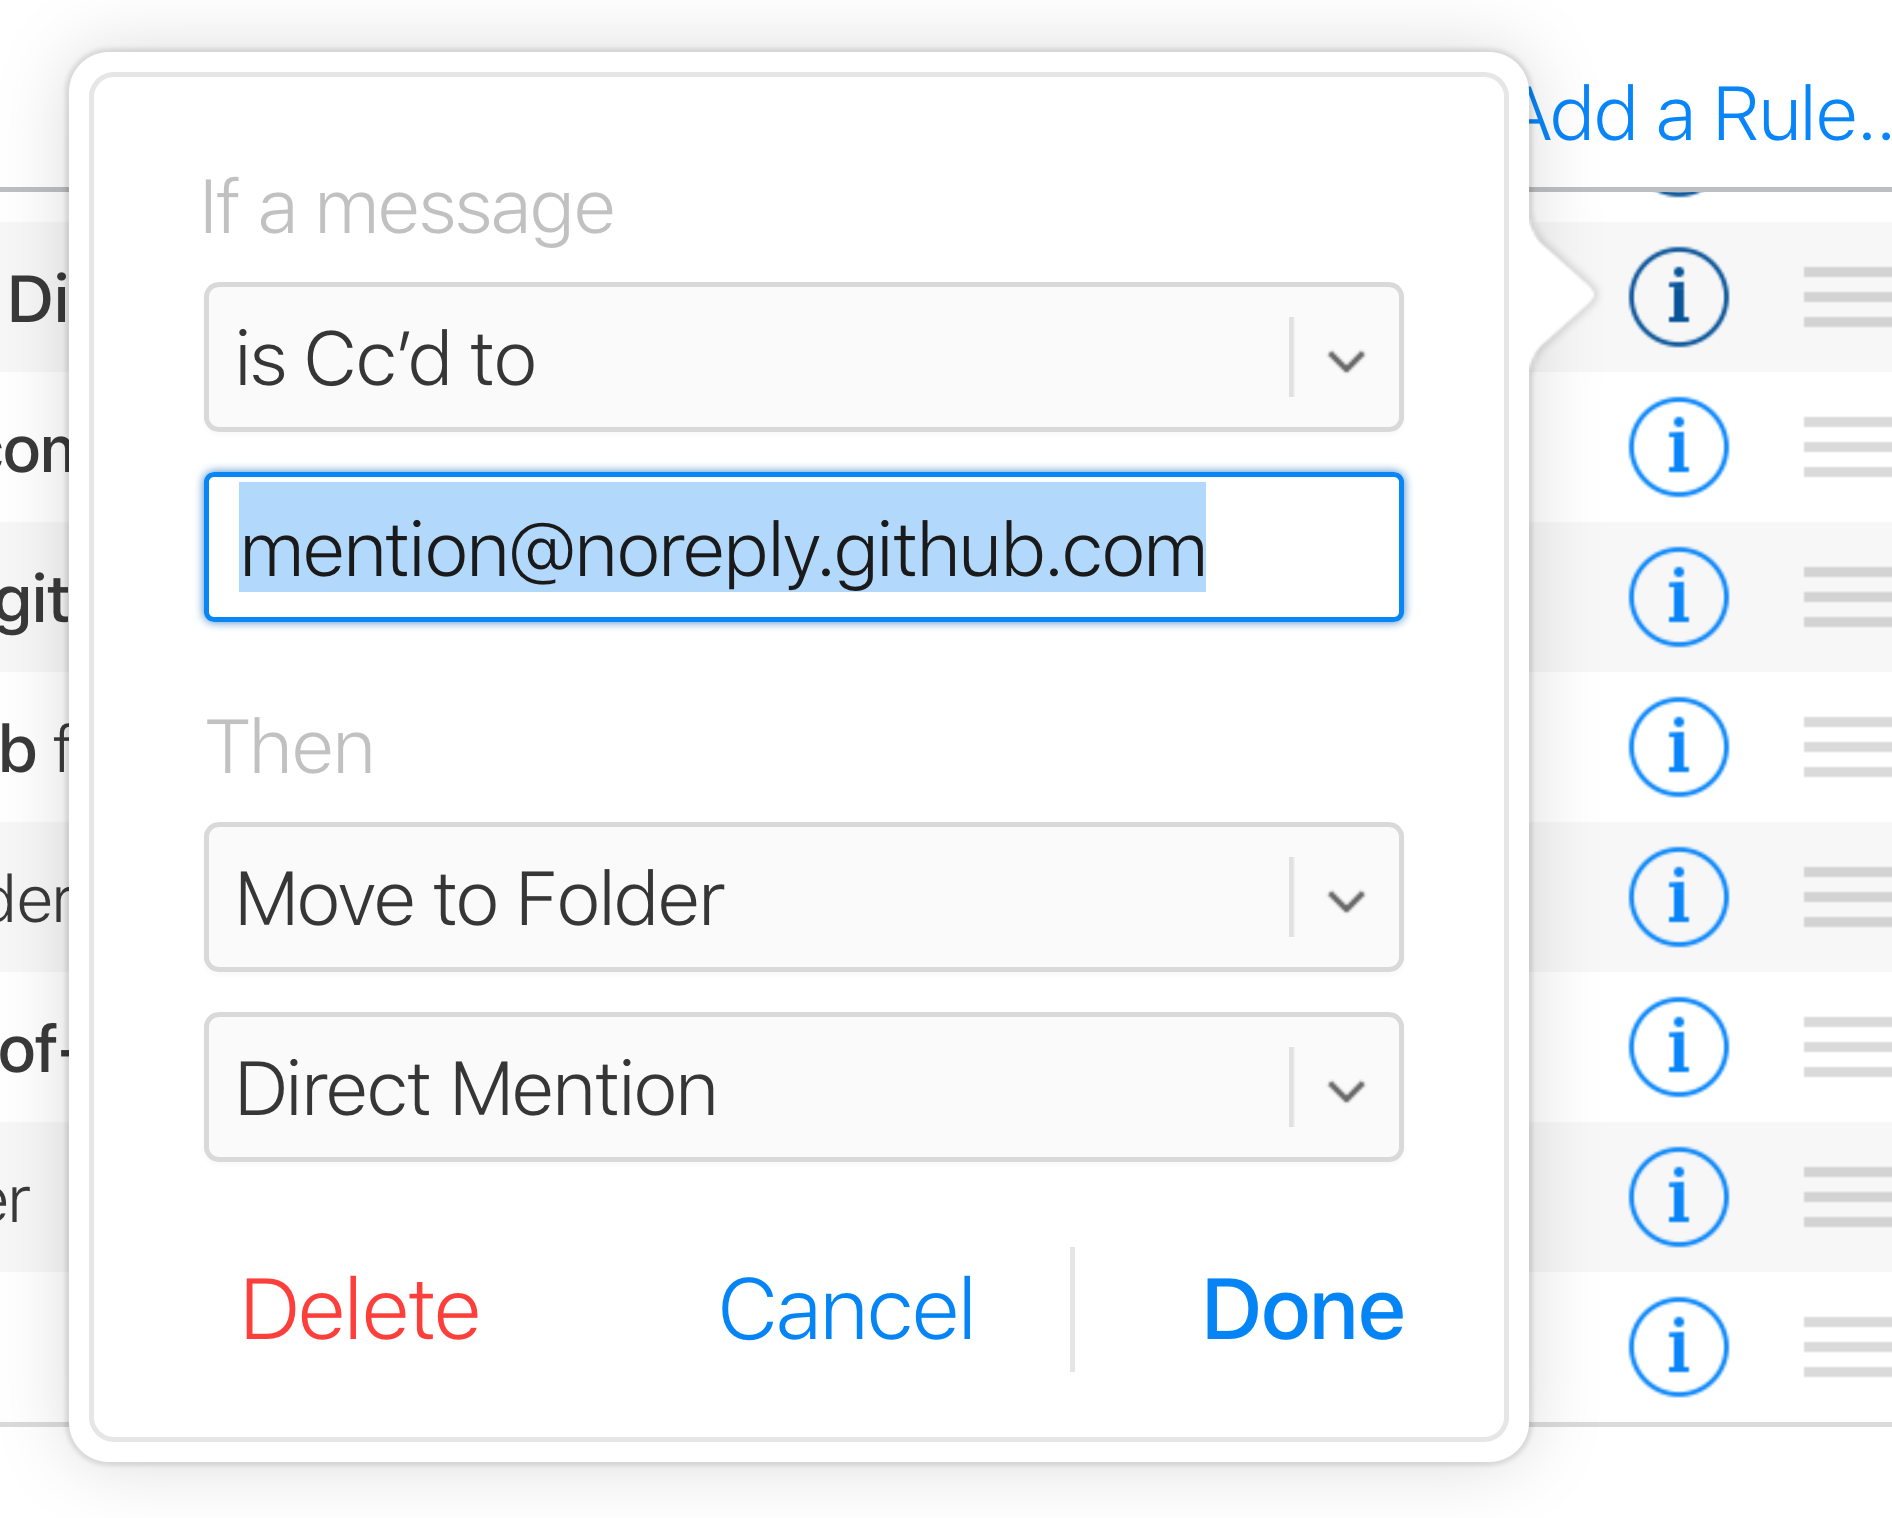
To help triage, try filtering your GitHub email notifications so they’re sent directly to relevant folders. This means if you have five minutes to scan your email, you can focus entirely on direct mentions where others are unlikely to respond on your behalf. Your inbox will also be clearer for emails that aren’t GitHub notifications.
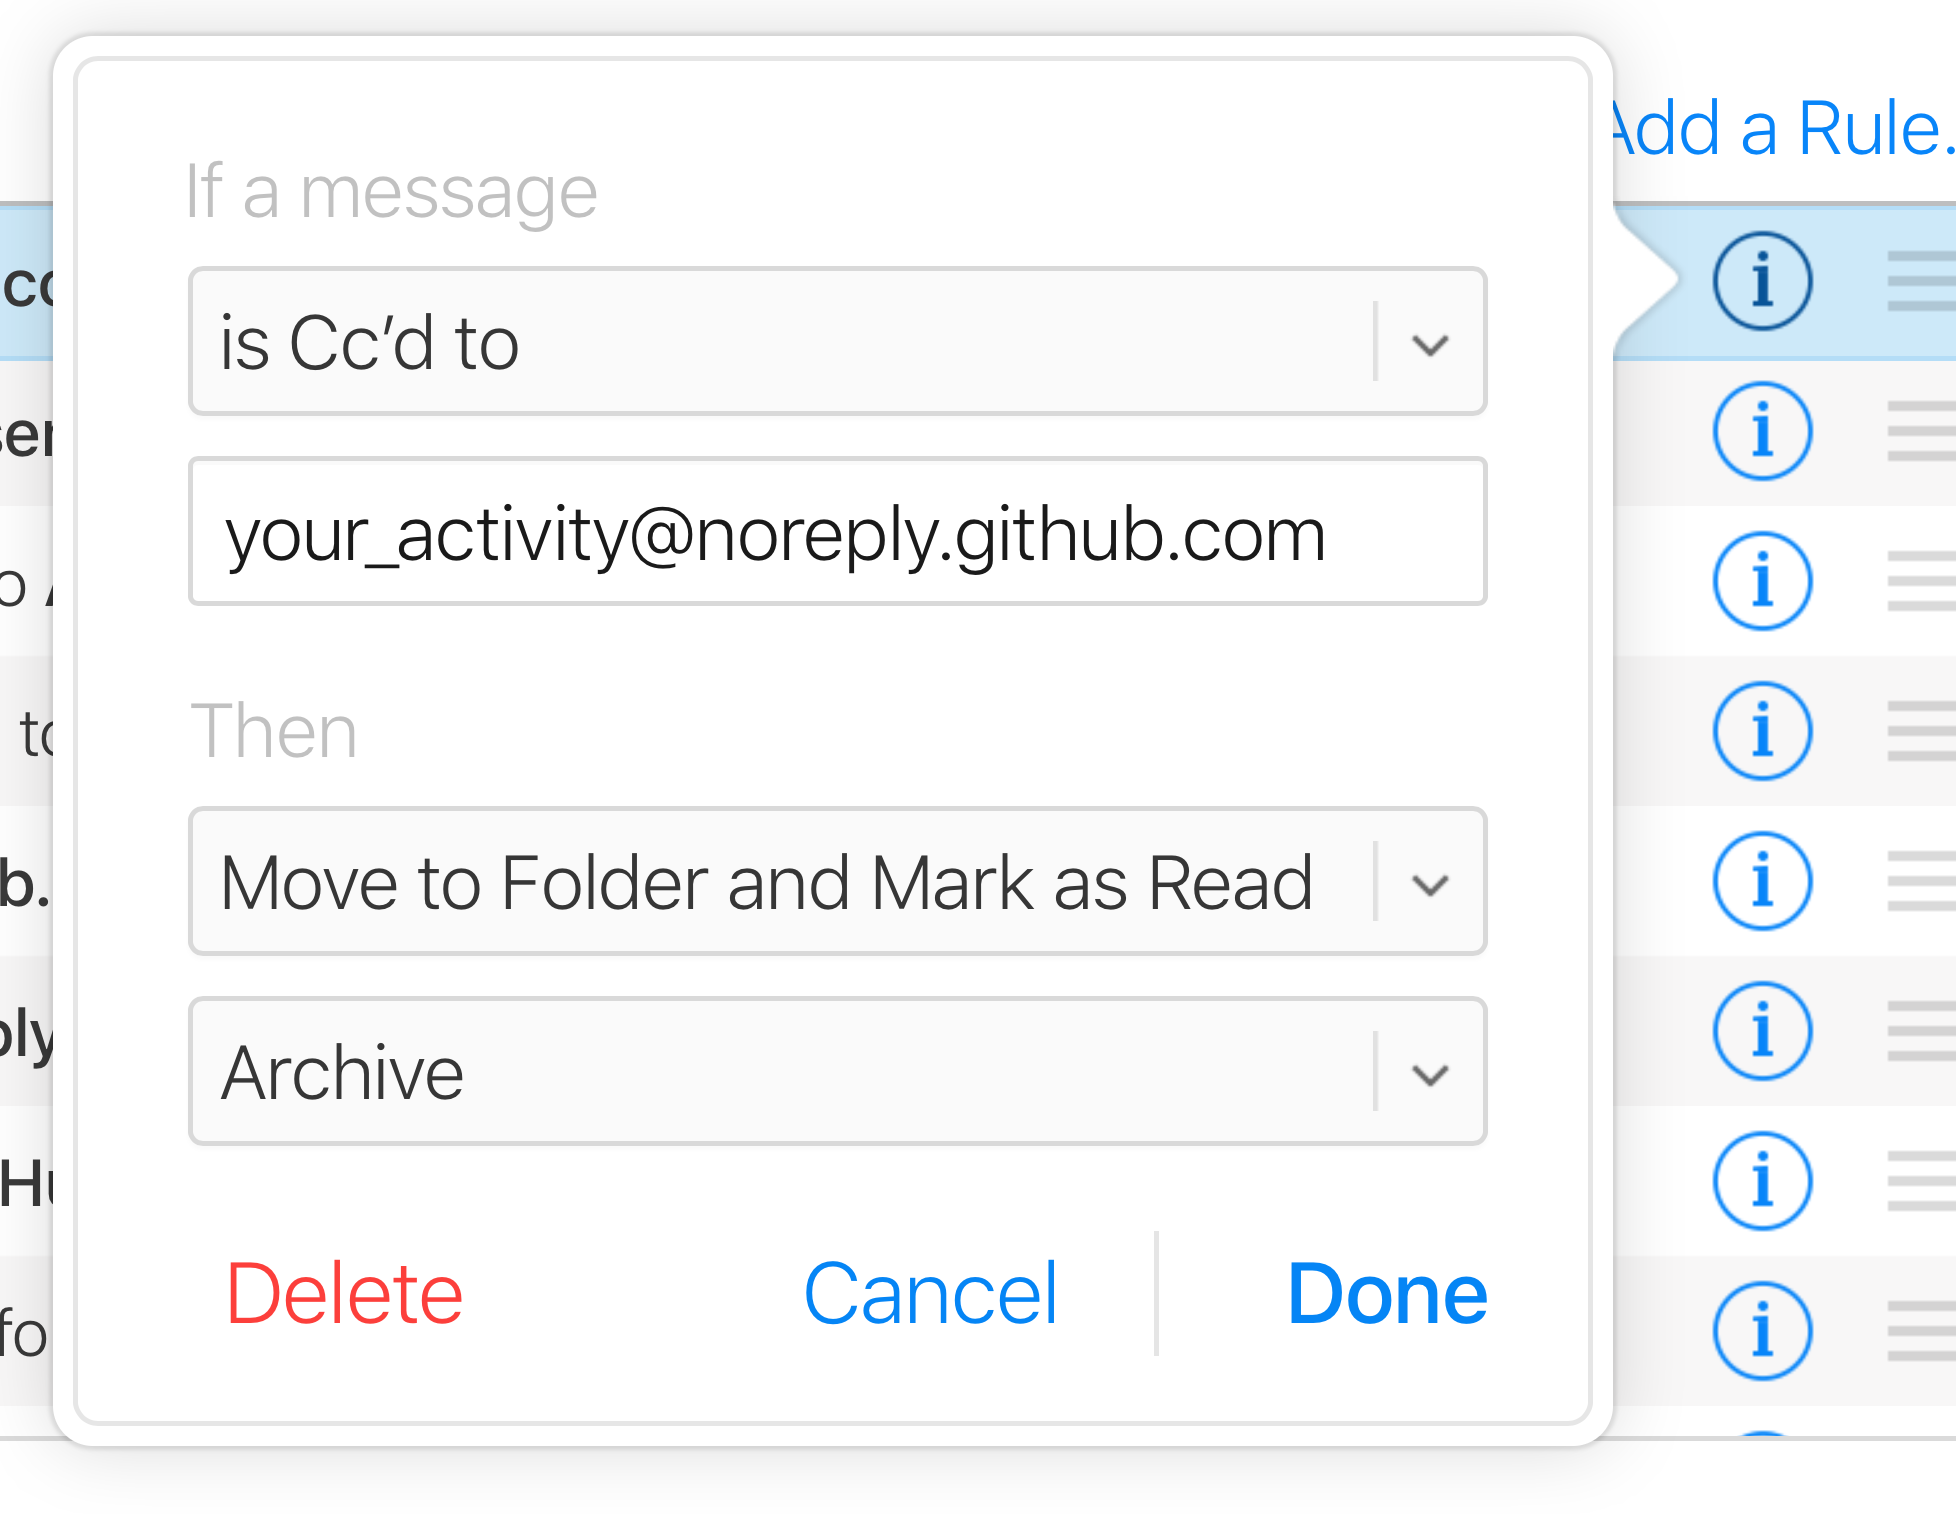
If you find receiving email notifications more useful, you can also disable web notifications and configure when and why you receive email notifications on your notifications settings page. If you’re going to manage all your notifications in your email client, consider enabling “Include your own updates” to be able to see your own contributions to conversations and provide yourself with more context. To avoid extra noise, filter these as read/archived by default in your email client.
Continue work in progress
Your notifications are now organized, but there will still be times you’ll want to pick up right where you left off. Use your created pull requests page and created issues page to see your most recent work on GitHub. This will also help you complete your pull requests—always a good idea before opening new ones.
Congratulations! Your notifications are now under control. We hope our tips have helped you work more efficiently on GitHub. Check out our Best Practices for Maintainers open source guide for more ideas from open source maintainers on how to run high-volume GitHub projects. If you have any tips and tricks of your own, we’d love to hear about them.
Written by
Related posts
Why developer expertise matters more than ever in the age of AI
AI can help you code faster, but knowing why the code works—and sharpening your human-in-the-loop skills—is what makes you a great developer.
How to create issues and pull requests in record time on GitHub
Learn how to spin up a GitHub Issue, hand it to Copilot, and get a draft pull request in the same workflow you already know.
The difference between coding agent and agent mode in GitHub Copilot
We’ll decode these two tools—and show you how to use them both to work more efficiently.