Start using GitHub Copilot CLI >
GitHub Copilot CLI: How to get started
Discover how to use GitHub Copilot directly in the terminal. From cloning a repository to opening a pull request, here’s how to streamline your workflow with Copilot CLI.

|
|
6 minutes
You already live in the terminal. You clone repositories there, install dependencies, debug issues, and run builds. But until now, when you needed AI help, you had to leave the CLI and open your editor or browser. Not anymore.
GitHub Copilot CLI brings that same assistance straight to your shell. No switching contexts, no breaking flow. Just you, your terminal, and an AI that can actually help you get things done.
Install once, authenticate, and start working
With Copilot CLI, you don’t have to juggle your API keys. Just install the assistant, sign in with your existing GitHub Copilot Pro, Pro+, Business, or Enterprise plan, and go.
# 1. Install via npm
npm install -g @github/copilot

# 2. Launch Copilot CLI
copilot

# Authenticate with your GitHub account
/login
Requirements:
- Node v22+
- npm version 10 or later
- Launch Copilot CLI
- Log in with your GitHub account
From here, you can get hands-on immediately—debugging tests, spinning up preview deploys, or writing one-off scripts—without leaving your terminal.
Use case: From clone to pull request in the terminal
Imagine this: You’ve just cloned a repository you want to contribute to. Normally, you’d spend time reading through the README, manually checking dependencies, and combing through open issues to find a place to start. But with Copilot CLI, you can offload all of that.
1. Clone and launch Copilot
First things first. Grab the repository you want to work on and run Copilot CLI in your terminal.
gh repo clone github/spec-kit
cd spec-kit
copilot
Copilot greets you in the terminal. Type / at any time to see available commands, or use Ctrl+R to see logs of the commands Copilot has run on your behalf.
2. Get oriented in a new codebase
Once you’re inside the project, the first step is understanding how everything fits together. Instead of scrolling through files manually or piecing it together from the README, ask Copilot to explain it for you.
You say: Explain the layout of this project.
Copilot inspects the repository using find, tree, and the README, then returns a clean Markdown summary. No more hunting through nested directories trying to figure out where things live.
3. Check your environment
After you know the lay of the land, the next question is: can you actually build it? Normally, you’d spend time hunting for dependencies and making sure you’ve installed the right versions. Copilot now handles that.
You say: Make sure my environment is ready to build this project.
Copilot verifies dependencies, installs missing tools (like Go for the GitHub CLI), and confirms you can build locally. All without you having to comb through setup docs or run trial-and-error commands.
4. Find a good first issue
Now that you’re set up, you’ll want to start contributing. Instead of browsing through dozens of open issues, let Copilot surface the ones that make sense for you.
You say: Find good first issues in this repository and rank them by difficulty.
Copilot queries GitHub Issues with its built-in GitHub MCP server and suggests a curated list, complete with difficulty levels. Instead of scanning dozens of issues, you can dive straight into a task that matches your comfort zone.
5. Start implementing
Now comes the real work. Normally, after finding an issue to work on, you’d create a branch, open the right files, make edits, and double-check your changes before committing. With Copilot CLI, you can let it draft the fix for you while you stay in control at every step.
You say: Start implementing issue #1234. Show me the diff before applying.
Copilot drafts a plan, makes the edits, and presents the diff. You stay in control, review, and approve before changes are applied.
👀 Pro tip: You can @-mention files in your prompt if you want Copilot to focus on specific parts of the code.
6. Commit and open a draft pull request
Once the changes look good, the next step is packaging them up and sharing your work. Normally, that means staging files, writing a commit message, pushing a branch, and opening a pull request, which is all a bit of a dance in Git. Copilot CLI streamlines the whole flow so you can stay focused on the code.
You say: Stage changes, write a commit referencing #1234, and open a draft PR.
Copilot will then stage files, write the commit message, and open a draft pull request for you to review.
7. Bonus: Kill that process hogging your port
Let’s say you’ve hit another common headache: a process hogging a port. You know, that moment when you try to start your dev server and it tells you a port (let’s say 8080 for this example) is already in use, and you have to go hunting for the right lsof command and flags.
You say: What process is using port 8080? Kill it and verify the port is free.
Copilot runs the right lsof command, shows the PID, kills the process, and verifies it’s gone. No more Googling arcane flags or trying to remember if it’s lsof -i :8080 or lsof -t -i:8080 or something else entirely.
I’m horrible at remembering commands, especially ones I use infrequently. With Copilot CLI, I just defer these tasks straight to it. Maybe I’ll remember the command next time, or maybe (probably) not. But I’ll definitely ask Copilot again.
Stay in control
Copilot always asks before running commands or accessing directories. This is critical when you’re giving an AI access to run things on your machine.
Before Copilot can execute anything, it will prompt you to:
- Allow once
- Allow always for this command
- Deny
You can also:
- Use
/sessionto view what’s currently allowed - Reset permissions at any time with
/reset - Add directories to your allowed list with
/add-directory
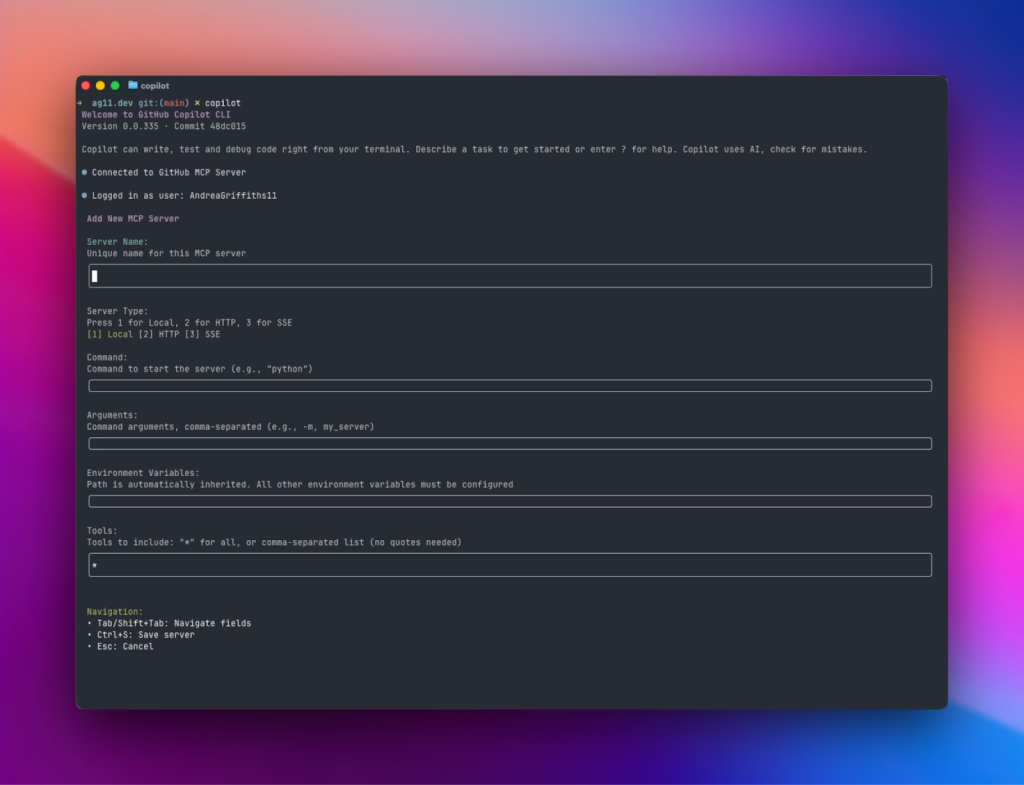
Extend with MCP servers
Copilot CLI ships with the GitHub MCP server already installed and running. This is what powers the issue search and repository interactions. But you can add any MCP server you want from the registry using /mcp.
Want to add Playwright for browser testing? Or integrate with your company’s internal tools? You can customize and extend Copilot CLI to match your workflow.
Why this matters
Here’s what I appreciate most about Copilot CLI: It meets me where I already work. I spend a lot of time in the terminal anyway, jumping between repositories, checking logs, running builds. Having Copilot right there means I’m not constantly switching contexts between my IDE, browser, and command line just to get AI help.
When I’m onboarding contributors to our projects or exploring a new codebase myself, I can stay in that flow. I can ask about the project structure, verify dependencies, find issues to work on, and start implementing without bouncing around between tools. That consistency matters when you’re trying to maintain momentum.
This isn’t about replacing your IDE. It’s about having the right tool in the right place.
What’s next
Copilot CLI is in public preview, and your feedback will shape our roadmap. We have ideas for what’s coming next, but we want to know what matters most to you.
👉 Install it today with:
npm install -g copilotThen share your experience using /feedback.
Tags:
Written by
Related posts
Building AI-powered GitHub issue triage with the Copilot SDK
Learn how to integrate the Copilot SDK into a React Native app to generate AI-powered issue summaries, with production patterns for graceful degradation and caching.
How Squad runs coordinated AI agents inside your repository
An inside look at repository-native orchestration with GitHub Copilot and the design patterns behind multi-agent workflows that stay inspectable, predictable, and collaborative.
Continuous AI for accessibility: How GitHub transforms feedback into inclusion
AI automates triage for accessibility feedback, allowing us to focus on fixing barriers—turning a chaotic backlog into continuous, rapid resolutions.