Migrate your repositories using ghe-migrator
Sometimes customers find themselves needing the unique advantages of GitHub Enterprise and decide to move their private repositories there. Now it’s easier than ever to move repositories to GitHub Enterprise…
Sometimes customers find themselves needing the unique advantages of GitHub Enterprise and decide to move their private repositories there. Now it’s easier than ever to move repositories to GitHub Enterprise from GitHub.com or instances of GitHub Enterprise using ghe-migrator. In fact, it’s helped more than 120 organizations migrate more than 2,500 repositories in the last nine months alone.
The advantage of using ghe-migrator instead of manually cloning and pushing repositories is that it includes GitHub data with the repository, including its issues, pull requests, user data, and wiki.
Before getting started
First off, using the ghe-migrator utility requires GitHub Enterprise version 2.3 or greater. If your version is not recent enough to use ghe-migrator, please refer to the documentation for upgrading GitHub Enterprise. The migration process also requires two other servers to be running. You will need a unix-based server running GitHub Enterprise’s backup-utils and another instance of GitHub Enterprise (running the same version as your production instance) to perform dry runs of the migration.
If you are using authentication mechanisms such as LDAP or SAML, or want to enforce user naming conventions, you should also compile a CSV of username mappings. The CSV should look like this (substituting githubenterprise.example.com with the URL of your GitHub Enterprise instance):
model_name,source_url,target_url,action
user,https://github.com/nathos,https://githubenterprise.example.com/nhenderson,map
user,https://github.com/allthedoll,https://githubenterprise.example.com/jstrusz,map
user,https://github.com/jonmagic,https://githubenterprise.example.com/jhoyt,rename
user,https://github.com/mattcantstop,https://githubenterprise.example.com/mduff,map
Where source_url refers to the URL of a given GitHub.com user, and target_url contains the desired username in GitHub Enterprise. Use the map action if the target user already exists on GitHub Enterprise, and rename if the user needs to be created. You can learn more about custom mappings in the GitHub Enterprise Documentation.
All of the commands below will run directly on the GitHub Enterprise instance. Start by logging in to the administrative shell using SSH.
Note: All of the steps below should be performed on the sandbox instance of GitHub Enterprise before running them on the production instance.
You will need a personal access token from GitHub.com with the admin:org permission selected. The token must be generated by an owner of the organization that contains the repositories you wish to migrate. Once obtained, set an environment variable on your GitHub Enterprise instance for easy reference.
export GITHUB_TOKEN=[your personal access token]You will also need a personal access token from your GitHub Enterprise instance from a site admin user. This will be the user performing the import to GitHub Enterprise.
It is important to make frequent backups of your GitHub Enterprise instance using backup-utils in between each step of the migration process. This affords flexibility in trying different migration strategies.
Exporting from GitHub.com
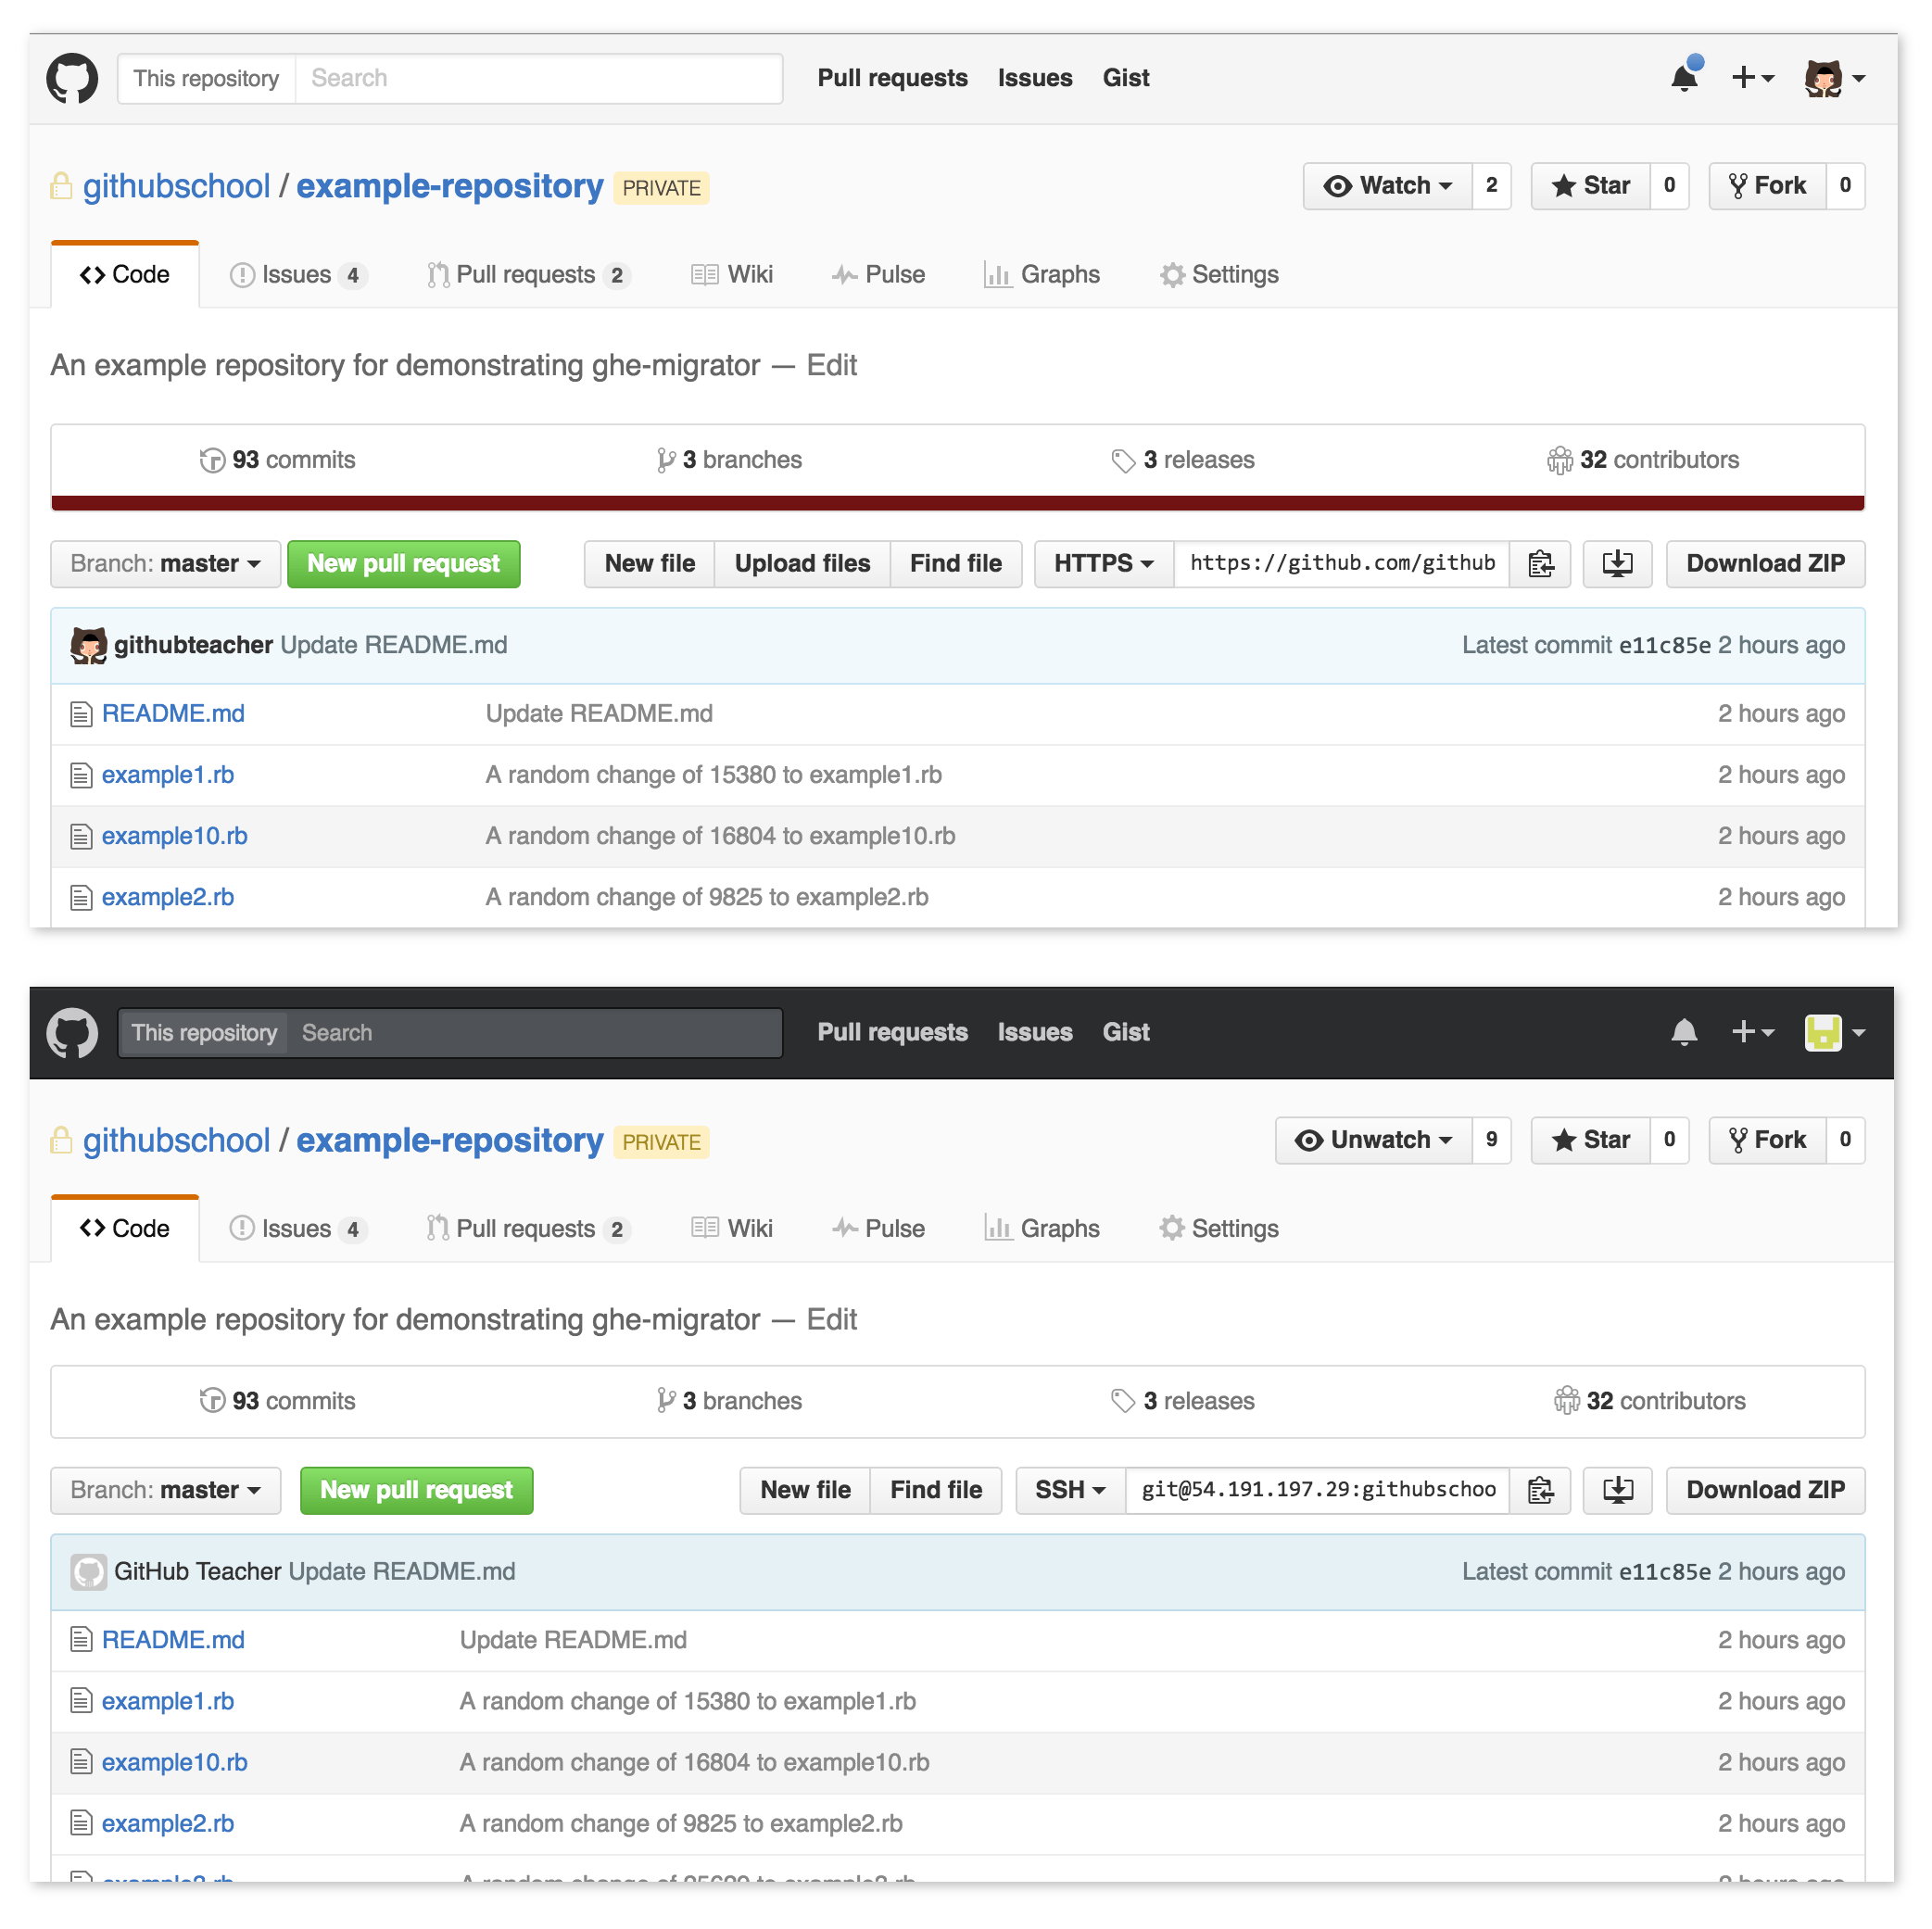
From your GitHub Enterprise instance, run the following cURL command to start an export job on GitHub.com. Substitute your organization name and list of repositories to export.
curl -H "Authorization: token ${GITHUB_TOKEN}" -X POST
  -H "Accept: application/vnd.github.wyandotte-preview+json"
  -d'{"lock_repositories":false,"repositories":["githubschool/example-repository"]}'
  https://api.github.com/orgs/githubschool/migrations
From the response body, we want to capture the migration url, denoted by the url key in the JSON. Save it to an environment variable.
export MIGRATION_URL=https://api.github.com/orgs/githubschool/migrations/999
Note: When running this command on your sandbox instance, set
"lock_repositories"tofalse. When you do your production migration, set it totrue, and it will prevent users from creating commits, pull requests, issues, etc on the repository on GitHub.com.
The previous command will send a response immediately, indicating that the export of your repositories has begun on GitHub.com. You’ll need to send a request to the migration status endpoint to monitor the status of the export. This command will poll the migration API every thirty seconds then output exported when it’s complete.
unset STATE
until [[ $STATE == *"exported"* ]]
do
  STATE="$(curl -s -H "Authorization: token ${GITHUB_TOKEN}"
  -H "Accept: application/vnd.github.wyandotte-preview+json"
  $MIGRATION_URL
  | grep -E '"state": ".*"')"
  echo $STATE
  sleep 5
done
When the job is complete, it will display "state": "exported" then exit.
Note: If you prefer to check the status of the export manually, and review more information about the export, you may simply send a simple cURL request to the migration API.
curl -s -H "Authorization: token ${GITHUB_TOKEN}"
-H "Accept: application/vnd.github.wyandotte-preview+json"
$MIGRATION_URL
This next command will download the exported archive.
ARCHIVE_URL=`curl -H "Authorization: token ${GITHUB_TOKEN}"
  -H "Accept: application/vnd.github.wyandotte-preview+json"
  $MIGRATION_URL/archive`;
  curl "${ARCHIVE_URL}" -o migration_archive.tar.gz
The archive is stored on GitHub’s servers, and will automatically be deleted after seven days. However, you can run this command to delete it immediately.
curl -H "Authorization: token ${GITHUB_TOKEN}" -X DELETE
  -H "Accept: application/vnd.github.wyandotte-preview+json"
  $MIGRATION_URL/archive
Preparing to import
Next, you want to unpack the archive and prepare GitHub Enterprise for the import. In this step, GitHub Enterprise makes note of the objects that will be imported by saving references to them in a database table.
ghe-migrator prepare migration_archive.tar.gzIt’s important to capture the Migration GUID from the previous command’s output. Save that to an environment variable.
export MIGRATION_GUID=e9ebc5fe-9694-45af-925c-376651d933d7It’s possible that users, repositories, organizations, or other entities will have conflicting names. ghe-migrator comes with a utility to detect and output these conflicts to a CSV file.
ghe-migrator conflicts -g $MIGRATION_GUID > conflicts.csvconflicts.csv will contain the naming collisions for the import and their suggested actions to resolve those collisions. You may need to rename some models, map them from GitHub.com to their GitHub Enterprise counterpart, or merge them together, as in members of a team. You can read about how to resolve migration conflicts in our GitHub Enterprise documentation.
Once you’re satisfied with the mappings you’ve set in conflicts.csv, you can send that file back to ghe-migrator to be interpreted.
ghe-migrator map -i conflicts.csv -g $MIGRATION_GUIDThis is also a good point to include any username mappings you may have set up earlier.
ghe-migrator map -i username_mappings.csv -g $MIGRATION_GUIDImport and audit
With mappings in place, you can now import our archive into GitHub Enterprise.
ghe-migrator import migration_archive.tar.gz -g $MIGRATION_GUID -u AdminUserWhere AdminUser is the username of a Site Admin on the GitHub Enterprise Appliance. After entering this command, you will be prompted to enter the GitHub Enterprise personal access token you set up during preparation.
Tip: To see what records are going to be imported or mapped before importing, you can run
ghe-migrator audit -g $MIGRATION_GUID
After the import is complete, you can use ghe-migrator audit to see what was imported. Typically, you’ll want to filter for records that failed to import.
ghe-migrator audit -s failed_import,failed_map,failed_rename,failed_merge -g $MIGRATION_GUIDOnce you are satisfied that the migration has completed successfully, you need to unlock the repositories on the GitHub Enterprise instance to allow users to access it. They are locked by default to prevent anyone from using them before you’re sure you’re happy with the import.
You may choose to unlock all repositories from this migration at once from the command line:
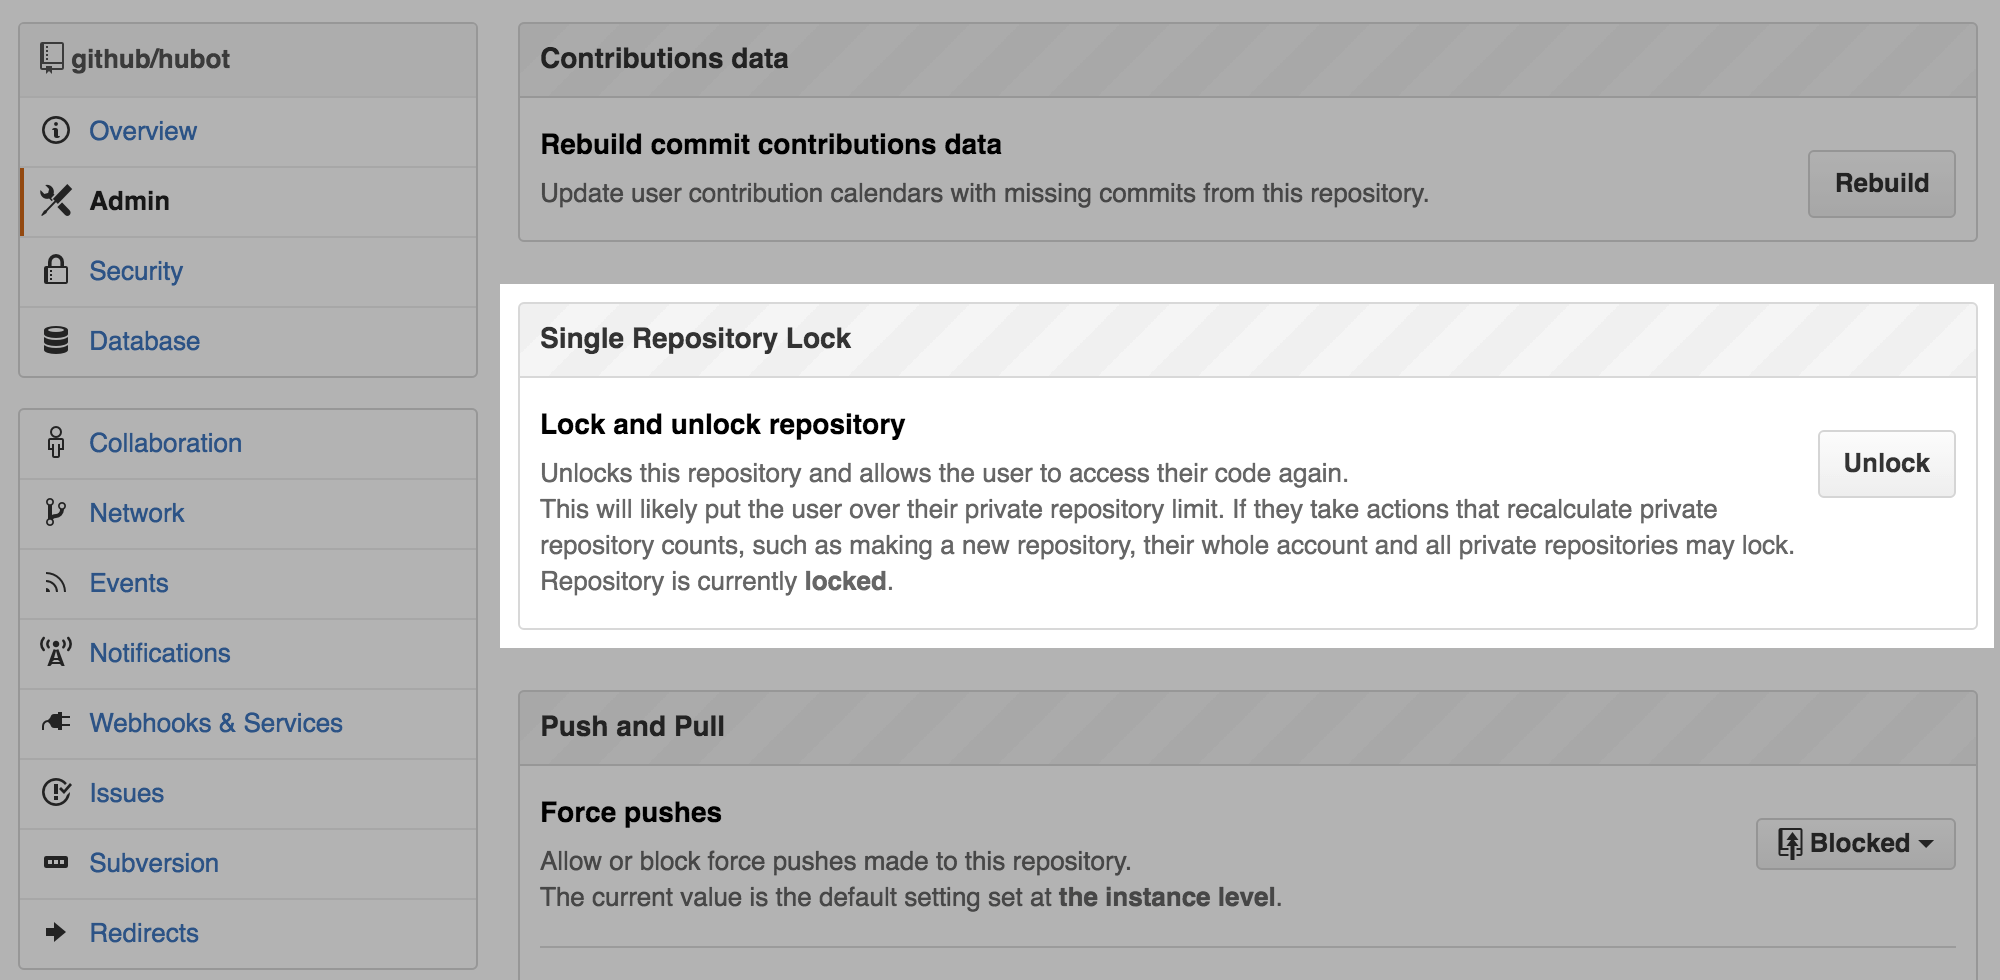
ghe-migrator unlock -g $MIGRATION_GUID -u YOUR-USERNAME -p YOUR-TOKENOr you may choose to unlock repositories individually using the Site Admin tools:
-
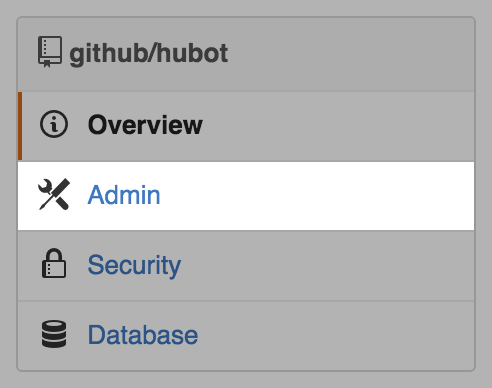
Go to Admin Tools (stafftools) for each repository that was migrated.
-
Click on Admin in the left sidebar.
-
Click Unlock in the Single Repository Lock area.
Conclusion
Now you’ll be able to use your repositories that were once on GitHub.com in your company’s instance of GitHub Enterprise. Important related information, such as issues and pull requests, will accompany your repositories. Should you require guidance with the ghe-migrator utility, GitHub Professional Services is here to help by offering on-site and remote migration assistance.
Other Resources
- To learn more about ghe-migrator’s capabilities, you can consult the GitHub Enterprise Migration documentation.
- A guided video demonstration of the steps in this article is available on our YouTube channel.
- For importing repositories to GitHub.com, read our blog post about the GitHub Importer.
Written by

Related posts

From pair to peer programmer: Our vision for agentic workflows in GitHub Copilot
AI agents in GitHub Copilot don’t just assist developers but actively solve problems through multi-step reasoning and execution. Here’s what that means.
GitHub Availability Report: May 2025
In May, we experienced three incidents that resulted in degraded performance across GitHub services.

GitHub Universe 2025: Here’s what’s in store at this year’s developer wonderland
Sharpen your skills, test out new tools, and connect with people who build like you.