Behold: Image view modes
Now when you view commits that include images you’ll be presented with four ways to view them: 2-up, Swipe, Onion Skin. 2-Up is the default mode, which lets you get…
Now when you view commits that include images you’ll be presented with four ways to view them: 2-up, Swipe, Onion Skin.
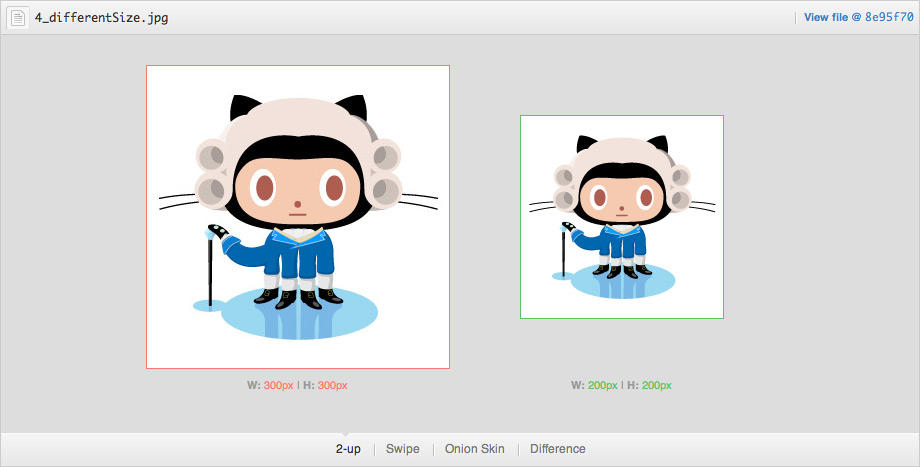
2-Up is the default mode, which lets you get a quick glimpse of both images. In addition, if the image has changed size between versions, the actual dimension change will be displayed. This should hopefully reduce headaches like shifts in UI alignment caused by asset size changes.
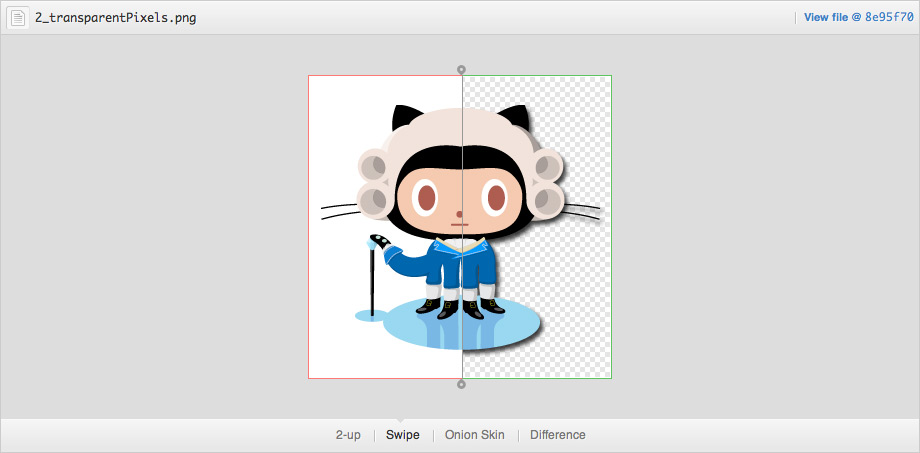
Swipe lets you view portions of your image side by side. Not sure if the colors shifted between versions? Drag the swipe slider over the area in question and compare the pixels for yourself.
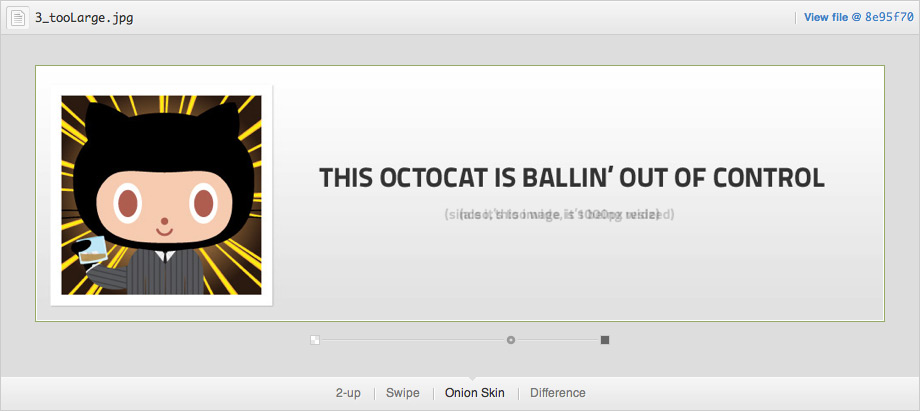
Onion Skin really comes in handy when elements move around by small, hard to notice amounts. Did that icon shift two pixels to the left? Drag the opacity slider back a bit and see if things move around.
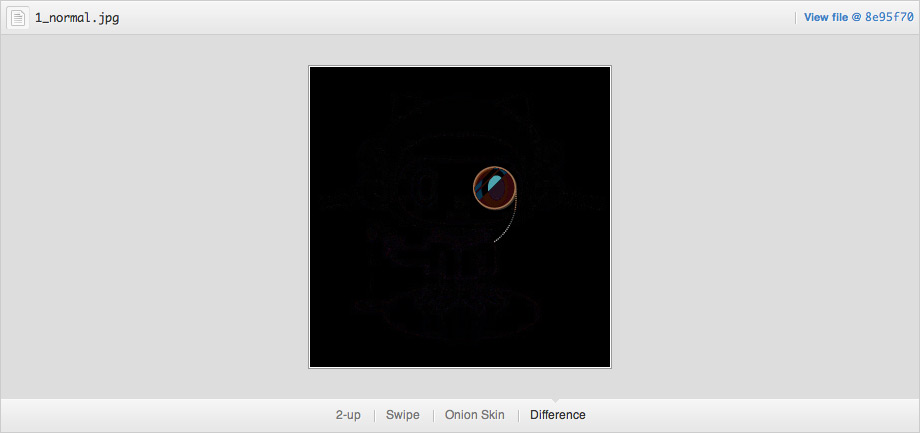
Difference is best used when it’s not particularly obvious if something has changed. It will highlight only pixels that are different between the two images, making it the go-to view mode for finding those single pixel changes in a file.
All four modes are supported in the latest versions of the most common browsers. Versions of Internet Explorer before version 9 don’t support canvas unfortunately, so Difference mode won’t show up if you use those browsers.
I should also mention that the Difference mode is possible thanks to @Phrogz’s awesome context-blender project that replicates Photoshop blend modes.
Want to try it for yourself? Check out the demo.
Written by

Related posts

GitHub availability report: June 2026
In June, we experienced six incidents that resulted in degraded performance across GitHub services.
Q1 2026 Innovation Graph update: Open source collaboration is accelerating worldwide
New Innovation Graph data shows global developer communities growing faster than ever, with collaboration reaching new highs across many economies.
GitHub joins coalition advocating for fixes to California AI Transparency Act to protect open source
We’re calling for targeted amendments to resolve conflicts with open source licensing and align with international transparency frameworks while preserving regulatory intent.